When I was first approached about participating, and agreed, it was on the misunderstanding that it would involve weaving one handwoven square to contribute towards a larger project. Nah!
 The actual project was an excellent idea to use up a donated stash of cottons and honour the memory of a former Guild member. Each participant would weave 20 (or was it 21?) squares in overshot, one for themself, one for everyone else and one for the Guild. Each would choose their own pattern in 4-shaft overshot and their own colours. You could either accept squares woven in other people’s colours, or wind off the weft for everyone to weave in your colour. The squares would then be exchanged at a meeting a few months down the track and each participant would sew their squares into a quilt. That’s what I hadn’t been aware of to start with. A quilt? Sew? Squares and straight lines? Too late to back out now…
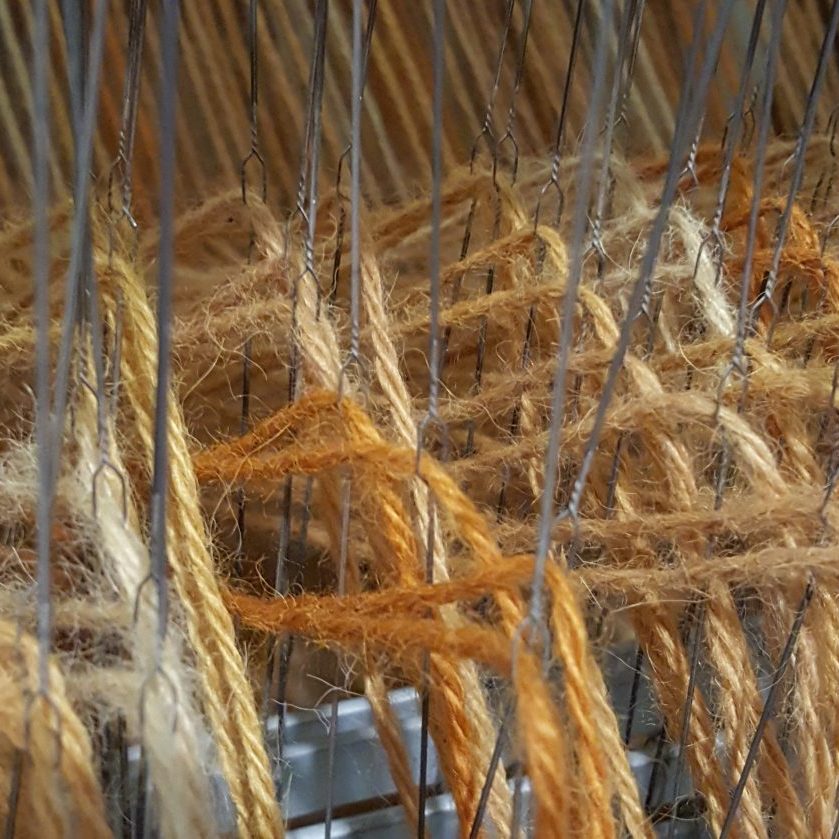
I didn’t get the weaving started until three weeks before the due date, and even then had  a long fight with the warp: three stands of very fine cotton that was as much fun as brushing the tangled hair of a squirming four-year-old. I’d never woven overshot either, but was no stranger to weaving with two shuttles, and at the rate of at least one square per evening, they were all finished in time. I chose the particular draft as it reminded me of nasturtium leaves, although as with most patterns, stare at it long enough and you start to see other things: keys, crosses, diamonds…
 Squares separated and exchanged, it was time to start sewing. Or thinking about it, buying batting, then more thinking… That process alone, together with buying fabric, thread and a walking foot for the sewing machine took another three months, then submitting for a group exhibition. I had asked that a sign be put next to mine declaring that I was a first-timer and had done woodwork and metalwork at school instead of sewing… and I wasn’t joking. At least it was displayed back-to-the-wall so that the bits of dodgy sewing (when the machine starts making noises and the fabric doesn’t move forward) weren’t visible. The edges are actually straight, contrary to how it was hanging at the time. Honest. First attempt, what can I say…
A positive experience? Well, yes in that it took me out of my comfort zone, I got to know other weavers, and tried overshot for the first time and realised it could be used for colourful effects rather than simply making a pattern and limited shafts go further. Also there was the book that involved a workshop on making the covers; I couldn’t attend the second session on binding, but as there was a similar workshop last year, the work that went into it was appreciated.
 The results were not sufficiently different from dyeing without pre-treatment to warrant such a lengthy procedure, although I may well try fermenting without adding bicarb in future.
 Although I had seen on
 Sheffield steel, just something that would fall apart or leave rust marks on the yarn. $15 wasn’t going to do much damage, so I took a chance…
 ar when held up to the light, and the yarn (top) – c.12g – came out a grey-mauve after washing. Still not a very deep shade, but it demonstrates the variety that can be obtained from the fruit.
 pun. Perhaps it was waiting the arrival of the penny tahkli? I wanted to get some slubbiness to the yarn, so left lumps and bumps in it at regular intervals. The trouble is, more practice = less character to the yarn. During a recent alpaca spinning workshop at the Guild, I quoted the English comedian Les Dawson and his signature act of playing the piano with carefully placed “wrong” notes. He explained during an interview that you had to be good at playing the piano before you could be intentionally bad. In spinning terms, I guess that explains the difference between a beginner’s yarn and an art yarn. Nevertheless, yours truly shall continue to practise being intentionally bad.
 r and damp at the moment, so I wanted to avoid the harvest going mouldy.
 e and with a bit of stirring….. treacle.
